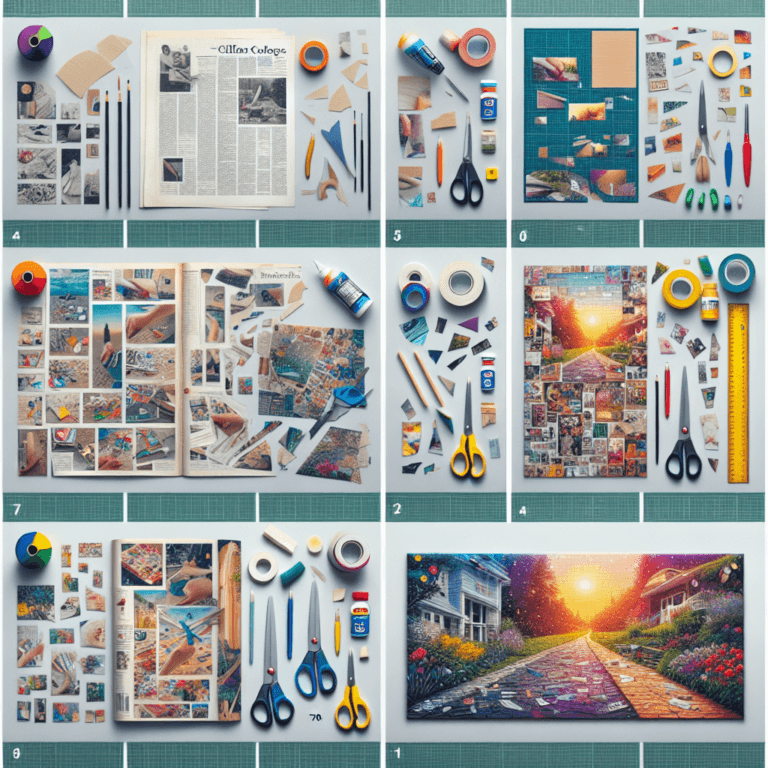
Creating a collage is a delightful and expressive way to combine various materials into a cohesive piece of art. It allows for creativity and personalization while engaging with different textures and colors. This guide will provide a straightforward approach to crafting your own collage at home.
Materials Needed
Before you start, gather the following materials:
- Base: A sturdy surface such as cardstock, canvas, or a wooden board.
- Adhesives: Glue sticks, liquid glue, or double-sided tape.
- Cutting Tools: Scissors or a craft knife.
- Images and Textures: Old magazines, newspapers, photos, fabric scraps, gift wrap, or any printable images.
- Additions: Colored pencils, markers, paints, or decorative elements like washi tape and stickers.
- Protective Gear: A cutting mat or newspaper to protect your workspace.
Step-by-Step Process
Step 1: Choose a Theme
Begin by deciding on a theme for your collage. Think about what message or mood you want to convey. It could be anything from nature, travel, dreams, or personal memories. A clearly defined theme will help you focus on selecting images and materials that fit.
Step 2: Collect Materials
Next, gather the materials you need based on your chosen theme. Spend some time flipping through magazines and other materials to find images, textures, and colors that resonate with your vision. Don’t hesitate to include personal items like photographs or small mementos if it fits your theme.
Step 3: Plan Your Layout
Before gluing anything down, lay out your selected items on the base without attaching them. This stage allows you to experiment with different arrangements. Consider varying the sizes and orientations of the pieces to create visual interest. Take a step back to see how the overall composition feels. Adjust as needed until you’re satisfied with the layout.
Step 4: Start Gluing
Once you have a layout you like, begin gluing the pieces in place. Start with the background elements and work your way forward. Apply a thin layer of glue to avoid wrinkling or tearing the materials. For larger pieces, you might want to use a stronger adhesive. Ensure that each piece is firmly attached, but do so gently to maintain the integrity of your materials.
Step 5: Add Depth and Details
After attaching the main components, consider adding depth to your collage. This can include layering smaller pieces or using 3D elements such as ribbons or buttons. Draw or paint around the edges of your collage to create highlights or shadows, enhancing the overall look.
Step 6: Final Touches
Take a step back and assess your work. Think about whether there are any additional elements that could enhance your composition. You might want to add text, embellishments, or doodles to fill in any gaps or provide context. Be mindful not to overcrowd the piece; balance is key.
Step 7: Let it Dry
Once you’re satisfied with your collage, allow it to dry completely. This may take a few hours depending on the glue used. Make sure to store it flat to avoid any bending or warping.
Step 8: Display Your Art
After your collage has dried, find a space to showcase your art. You can frame it, hang it directly on the wall, or place it on an easel. Consider rotating your display regularly to keep things fresh and inspire new creations.
Conclusion
Crafting a collage is a fulfilling way to express creativity and personalize your space. By following these steps, you can create beautiful and meaningful art pieces that reflect your unique vision and style. So gather your materials, unleash your imagination, and start transforming the ordinary into extraordinary through collage art.
collage from home,#Crafting #Collages #StepbyStep #Guide #Home #Art #Projects


